
Screen printing makes it possible to produce wonderfully elaborate designs, but to do so you need a good grasp of the fundamentals of screen printing. Even single-colour printing can present some difficulties. In this article, we’ll look at how to create the perfect set-up for obtaining optimum printing results.
- In this article:
- The basic equipment for single-colour screen printing
- Planning the design: how to obtain a multi-colour print using just one colour
- Exposing your frame: doing it yourself or using a dedicated provider?
- How to secure the screen to the printing press
- Now print in the right place
- Another important aspect: the off-contact!
Anyone who’s dabbled with screen printing knows that, with this printing technique, each colour corresponds to a single frame, i.e. a printing “structure”.
And, naturally, more colours means more frames, which in turn requires more sophisticated printing presses (with multiple arms and multiple stations, for example) that enable the different colours to be accurately calibrated.
To avoid such complications, many printers choose to just print with one colour, and yet they’re still able to achieve excellent results and effects.
The basic equipment for single-colour screen printing
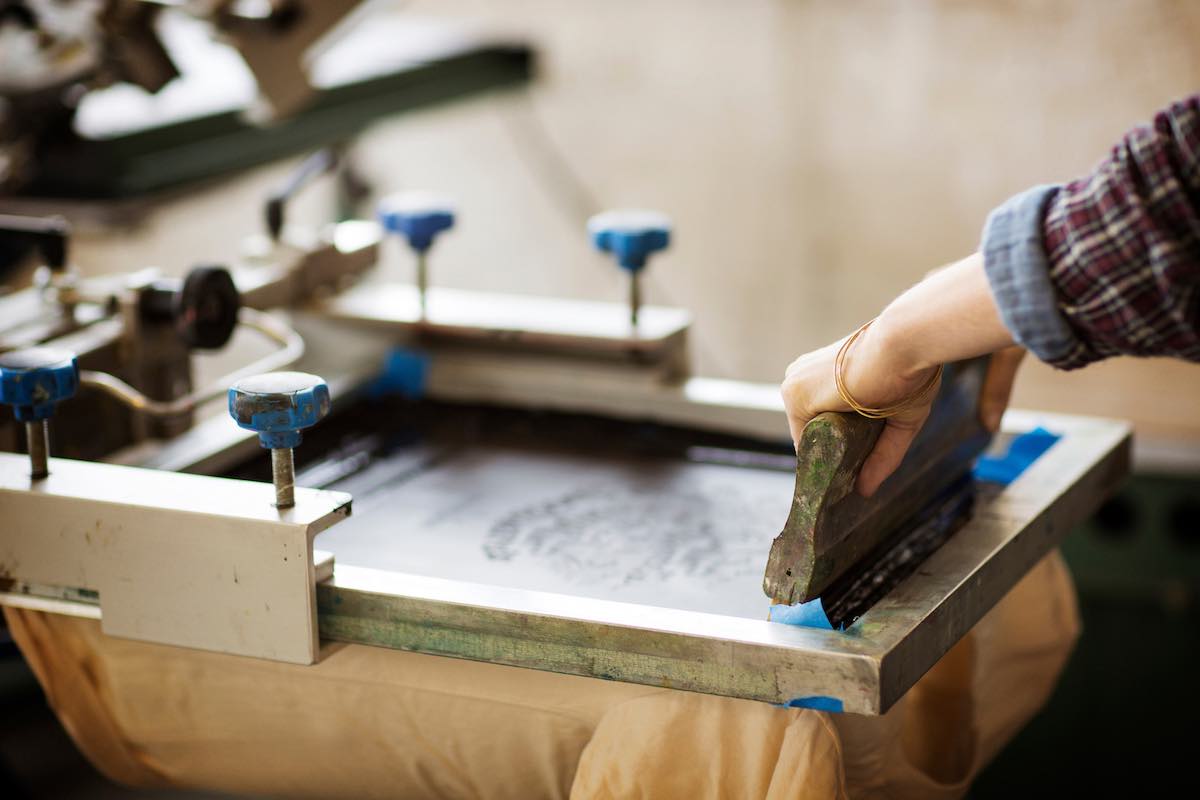
For single-colour printing all you need is a simple printing press with just one station and one frame holder, for example CPL Fabbrika’s Silver StartUp model.
It’s even possible, for those who’d like to get started with just a very minimal investment, to use hinged clamps that can be attached with screws to any flat surface.
There are also a number of more sophisticated presses that can be used for single-colour printing, and which are specifically used for particular printing techniques. In any case, we always recommend opting for a printing press that’s sturdy and heavy, this will enable you to work with precision and achieve excellent results.
Planning the design: how to obtain a multi-colour print using just one colour
In addition to the printing press, you obviously also need a frame exposed with the design you want to print.
As it’s a single-colour print, a lot of thought and effort needs to go into the creative phase, i.e. before the frame is exposed. When coming up with your design, you should also consider the colour of the material you’re going to print on: indeed, by taking this into account you can actually create a design that seems multi-coloured even if you’ve printed using just one colour.
For example, you can use the background colour of a T-shirt, or paper, and create your design so it becomes your second colour: in so doing it won’t just be the background, but a colourful aspect of your design.
Exposing your frame: doing it yourself or using a dedicated provider?
To prepare the frame, you need to start from a file that’s been created using a graphics programme such as Adobe Photoshop or Adobe Illustrator, before proceeding to expose your film using a printer that’s capable of printing opaque black.
Opaque black is essential in the process of exposing the screen-printing film. If light is able to pass through the black in the design, the screen printing frame won’t be perfectly exposed and the micro-holes through which the light can pass will be evident.
Indeed, due to these imperfections, ink will be able to pass through the micro-holes during printing and end up spoiling the print.
Opaque black, even if you’re only doing single-colour printing, is absolutely essential.
Hopefully we’ve been clear: this phase – the so-called pre-printing phase – is very tricky and requires sophisticated and expensive equipment. We therefore advise that you take some time to choose how best to organise your workshop: you’ll need to conduct the entire screen printing process – both the pre-printing and printing – with great care and attention, or as an alternative would you prefer to specialise in the printing phase and outsource all the file processing and frame preparation activities to an external provider?
How to secure the screen to the printing press
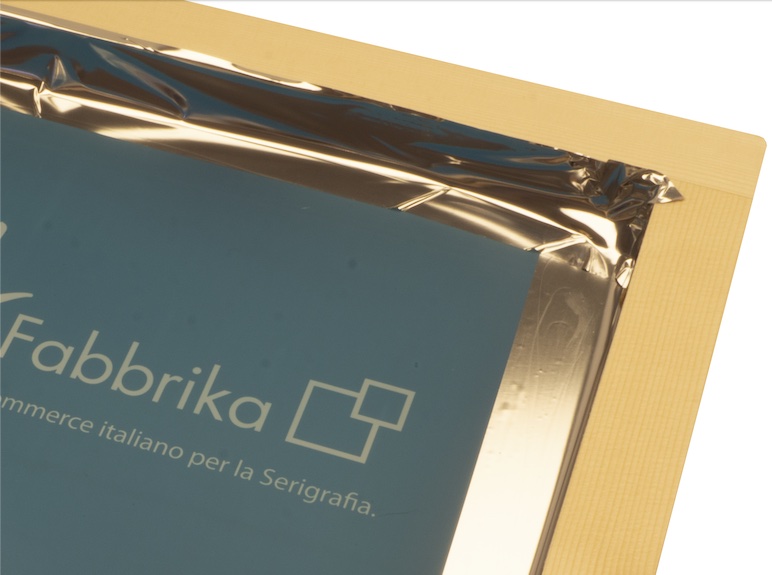
Once the screen has been exposed with your design, you need to secure it to the printing press. The screen must be secured so that the side facing upwards is the one that the squeegee will be passed across, with the mesh placed against the object to be printed on.
In other words, it needs to be upside down. Using some tape, protect the area between the emulsion and the frame (wooden or iron): this will prevent the ink from going through the mesh where there’s no emulsion, and it’ll stop the frame from becoming too dirtied with ink.
>>> the object you’re printing on can be made of different materials and it could be a T-shirt, a bag, a sheet of paper or cardboard. These are all “flat-surfaced”, and are therefore easier to print on, but some objects are curved, such as bottles or hats, for example.
Now print in the right place
Once the screen has been secured into position, the first thing we need to work out is how to print the design exactly where we want it. For example, right in the middle of the T-shirt, or towards the left near the heart, as is often the case for sports badges and numbers?
To do this, we suggest lowering the frame onto the item you’re printing on and also placing the film – with the design on it – onto the item (for this reason, at CPL Fabbrika we always send customers both the exposed frame and the corresponding film) exactly in the same position so that it corresponds with the design on the frame. This will make sure you have a reference point even when you lift the screen back up.
Now stick the film to the printing station and move the object you’re printing on (T-shirt, paper, etc.) so as to place it in the exact position you want to print.
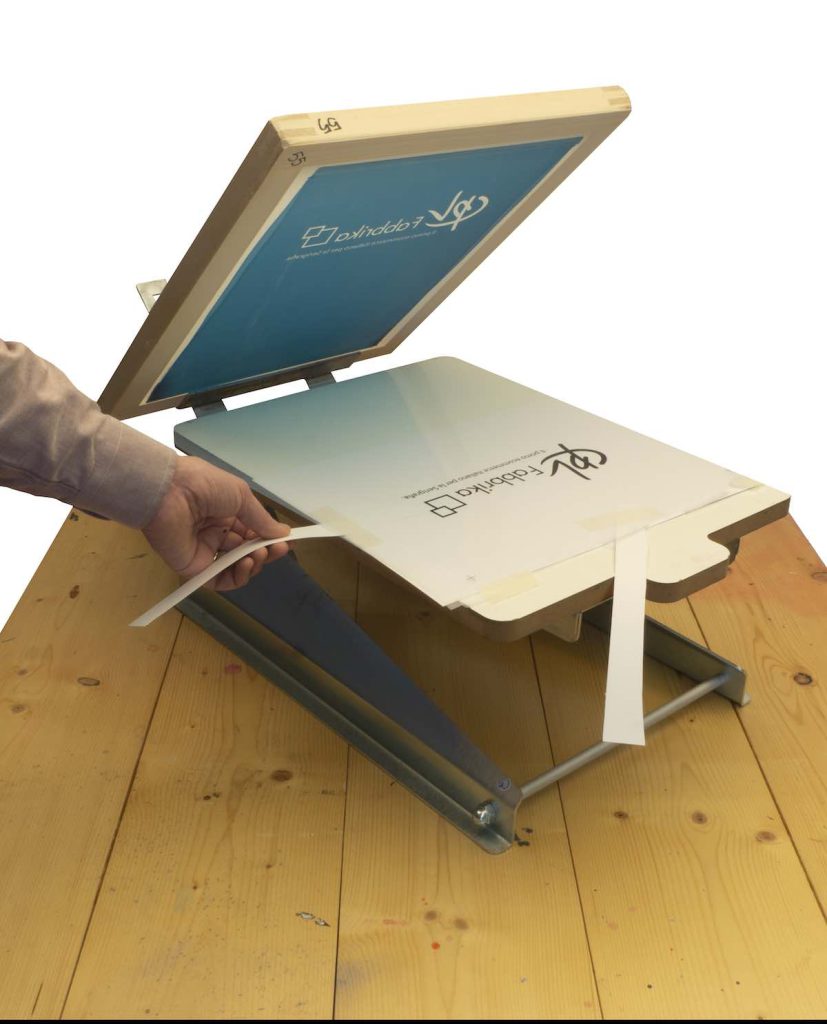
To avoid having to repeat this operation every time you change the T-shirt or sheet of paper, simply put something on the printing station that will give you a reference point: for example, two strips of tape, one vertical and one horizontal, to create a right angle, a set square, onto which you can then position the next item.
Another important aspect: the off-contact!
There’s an additional aspect you need to keep in mind: the off-contact. The off-contact is the distance, approximately 1.5 cm, that needs to be maintained between the screen and the item you’re printing on.
Indeed, the screen should never completely sit on the item being printed on. The reason for this is that the mesh should only come into contact with the item when you pass the squeegee and apply pressure.
As soon as the squeegee has completed its pass, the mesh should lift back up and come off the item being printed on (off-contact). In so doing you avoid the vacuum effect, whereby the wet ink tends to stick to the object you’re printing on and lift it when you move the frame, thus dirtying and ruining the image.
It’s very simple to achieve the off-contact: just use some tape to fix a small spacer to the outer corners of the frame: a coin will do or you can use the special silicone spacers that CPL Fabbrika sells in a variety of thicknesses.
At this point, the pre-printing phase is complete, and you can proceed with the printing.

- In summary, to create a work plan for single-colour printing you’ll need to:
- prepare the file with the design, keep in mind the colour of the object being printed on
- expose the frame, choosing whether to do it yourself or utilise an external provider
- choose a simple 1-colour printing press
- pay careful attention to calibration
- make sure you’ve got the off-contact
On our website you can find
a wide range of 1-colour printing presses for setting up your workshop.